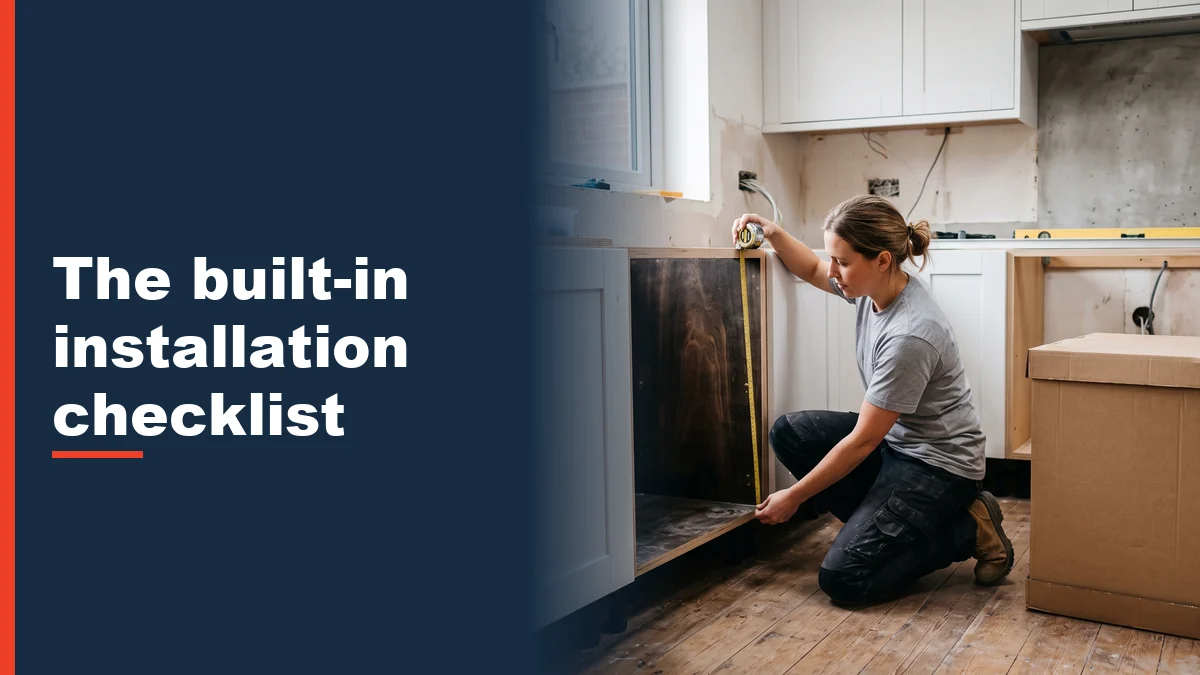
Built-In Appliance Installation Barrie: Pre-Delivery Checklist
Most issues with built-in appliances start long before delivery day. They usually trace back to an improperly measured cutout, an unverified vent run, or an unconfirmed utility hookup. Proper preparation is critical for seamless built-in appliance projects, whether you are putting in a new wall oven, dishwasher, cooktop, or built-in refrigerator.
Use this pre-installation checklist to verify measurements, clearances, and hookups before delivery day to ensure your new built-in kitchen appliances operate smoothly and safely.
Why Appliance Installation Issues Start Early
Unlike freestanding models, a built-in kitchen appliance is not a simple drop-in swap. Every model features specific cutout dimensions, venting paths, electrical load requirements, and clearance allowances required by the manufacturer warranty.
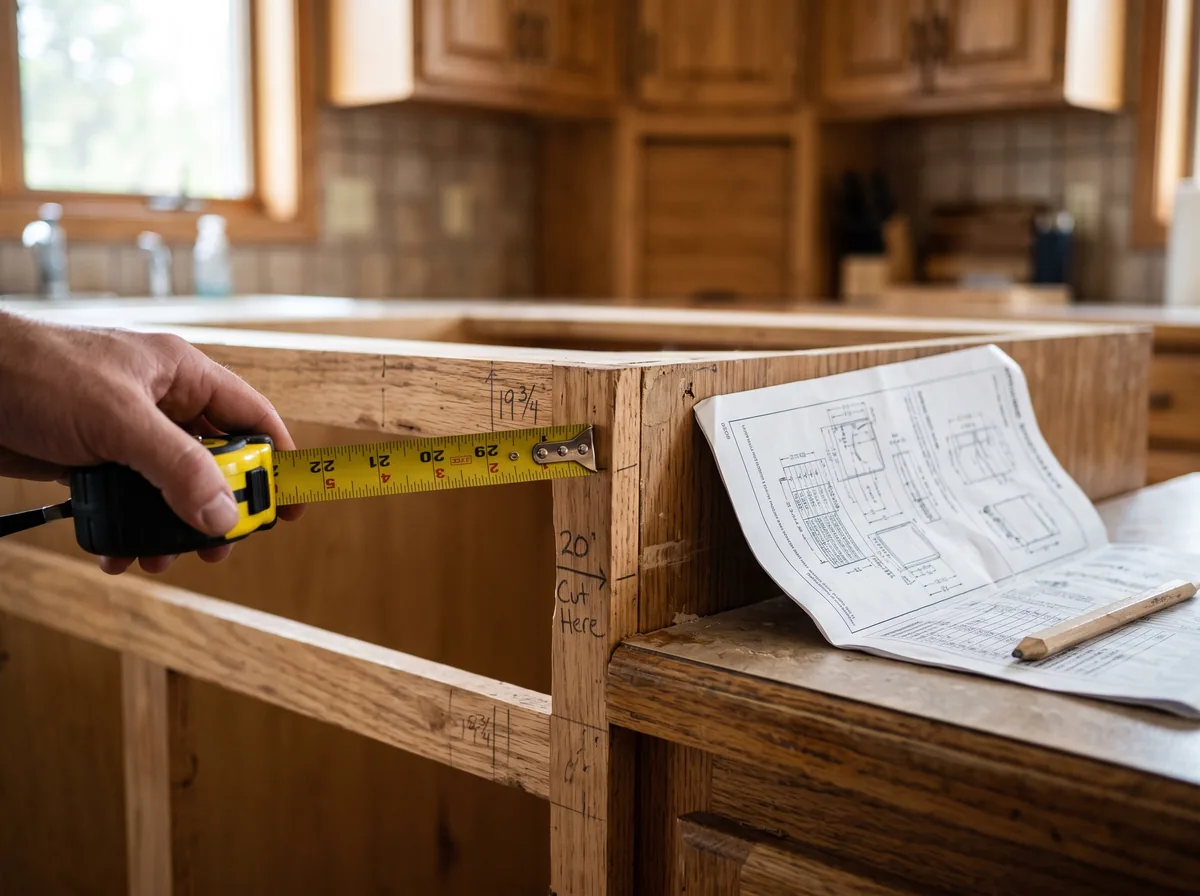
The most common installation failures stem from measuring cabinet cutouts against old appliances rather than new spec sheets, failing to inspect ventilation ducts, or assuming existing outlets and gas lines are properly positioned. Verifying these details in advance prevents costly delays, unexpected cabinet modifications, and premature equipment wear.
Pro Tip
Keep the official installation manual for every built-in appliance in an accessible spot. Clearance and venting specs vary by model year, and future maintenance or service requires exact model specifications.
Built-In Appliance Installation Barrie Checklist
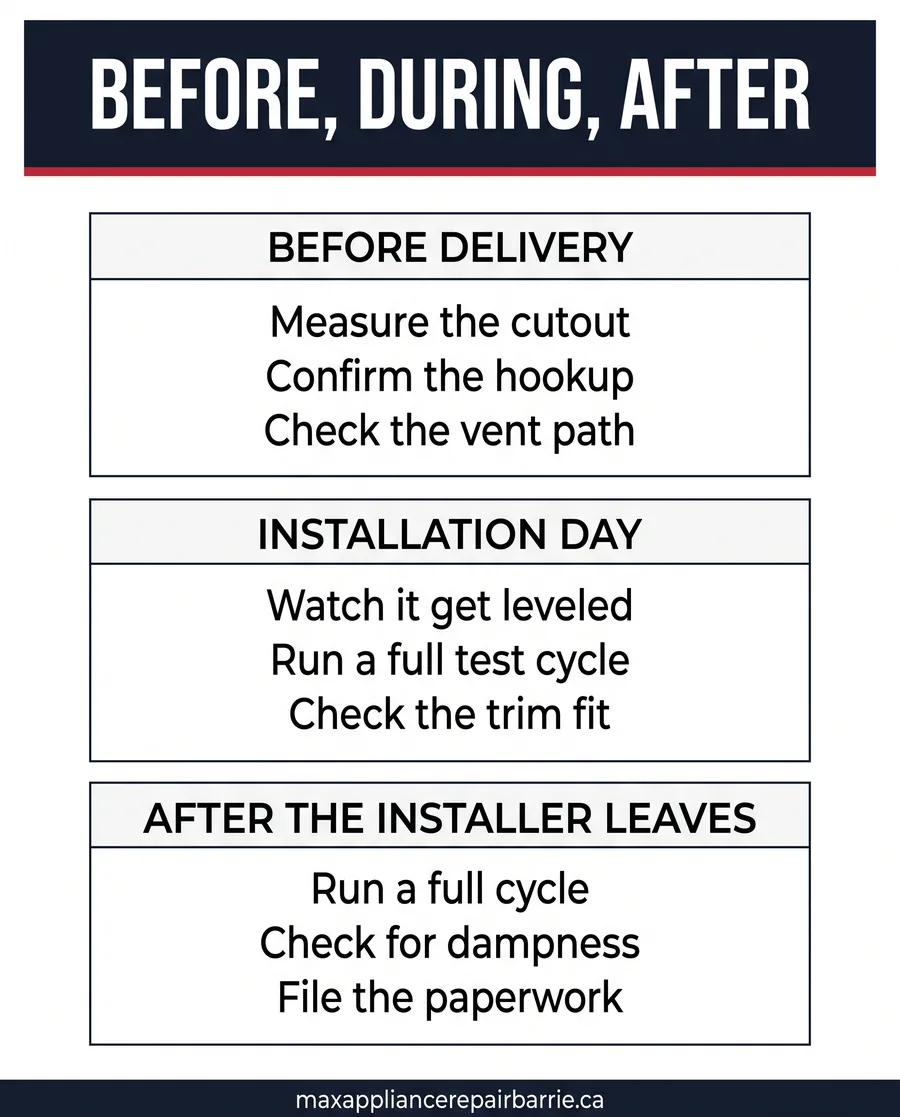
Follow this checklist in three distinct steps: before delivery, on installation day, and after the installation is complete.
Pass 1: Before the Appliance Arrives
- Measure the cabinet cutout against the new appliance spec sheet—never use the old appliance’s dimensions.
- Confirm that electrical outlets, gas lines, and water shutoffs are inside the new unit’s designated connection zone.
- Inspect range hood and microwave vent runs to ensure proper diameter and clear airflow.
- Verify whether the appliance requires a dedicated electrical circuit and confirm your breaker panel has capacity.
- Clear an unobstructed path from the entryway to the kitchen for delivery personnel.
- Record the model and serial numbers before disposing of the packaging.
Pass 2: On Installation Day
- Ensure the appliance is accurately leveled before securing it in place.
- Have the installer run a brief test cycle to verify proper power and operation.
- Confirm that trim kits or custom panels fit flush against surrounding cabinetry.
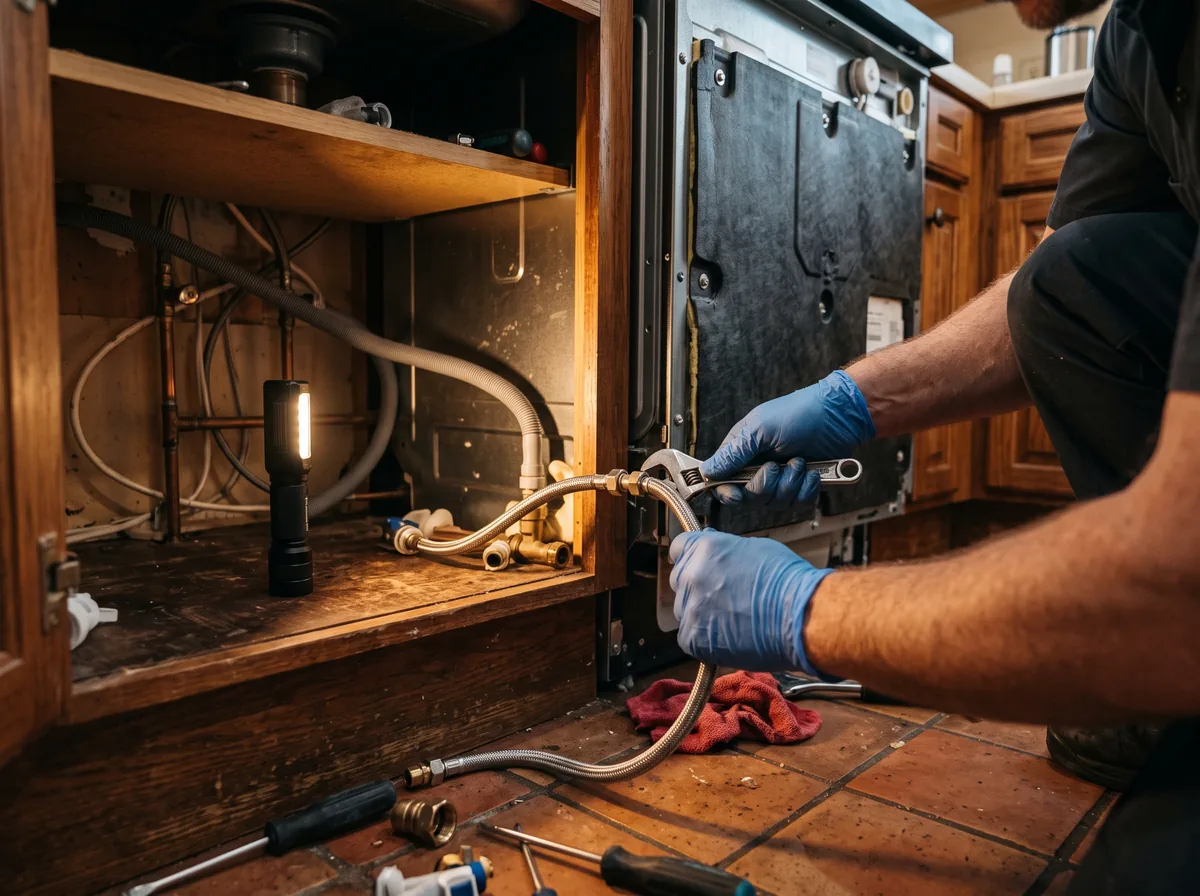
- Inspect flexible supply lines and drain hoses to prevent kinking or rubbing against sharp edges.
Pass 3: After Installation
- Run a full appliance cycle within the first week of installation.
- Inspect surrounding areas and underneath the unit for any water leaks or condensation.
- Verify that appliance doors and drawers open fully without making contact with adjacent cabinets.
- Store installation paperwork and warranty registration in your records.
Clearances, Venting, and Hookups That Get Missed Most
When planning a successful appliance installation project, pay close attention to clearances, ventilation pathways, and connection points.
Side and Rear Clearances: Adequate airflow protects refrigerator compressors and dishwasher motors. Restricted clearances force internal components to overwork, leading to premature mechanical failure.
Venting Requirements: Built-in microwaves, range hoods, and downdraft vents require correct duct diameter and minimal bends. Restricted venting reduces airflow, leading to poor performance and overheating risks.
Gas and Electrical Connections: Gas appliances in Ontario must be connected by a licensed technician in accordance with Technical Standards and Safety Authority (TSSA) regulations. Always verify installer credentials prior to installation.
Save Time and Money
Verifying dimensions, venting, and connections before delivery prevents extra service calls and costly modifications on installation day.
Watch this step-by-step video overview illustrating proper prep work and installation steps for a built-in dishwasher:
Built-In Brands and Installation Expectations
Premium brands like Sub-Zero and Wolf require precise installation tolerances. Deviation from manufacturer guidelines for ventilation or clearances can void warranty coverage and hinder performance.
Mainstream built-in wall ovens, cooktops, and dishwashers also require model-specific verification. Always consult the unit’s official manual rather than general specs to ensure a clean, accurate fit.
When to Call a Professional Installer
Standard delivery crews typically set units in place and confirm power connections, but complex electrical, gas, or cabinet adjustments require qualified professionals skilled in appliance installation Barrie services.
If a newly installed built-in appliance trips breakers, generates unusual noise, or fails to heat or drain properly, schedule an inspection immediately to correct installation issues before long-term damage occurs.
Download the Free Quick Guide
Download a printable PDF checklist to review before delivery day.
Frequently Asked Questions
How long does a built-in appliance installation take?▼
Do I need a permit for built-in appliance installation in Barrie?▼
Can I install a built-in dishwasher or wall oven myself?▼
What is the most common installation-related appliance failure?▼
Do luxury brands require special installation considerations?▼
Always verify cutout dimensions, ventilation clearance, and utility hookups against your new appliance’s specification manual prior to delivery day.
- Measure cutouts based on the new appliance specification sheet.
- Ensure ductwork and venting paths are clear and correctly sized.
- Hire certified professionals for gas and electrical hookups.
- Perform a full operational test cycle within the first week.
Max Appliance Repair Barrie provides professional appliance installation Barrie support and repair services across Barrie, Alliston, Orillia, and Collingwood. If you need assistance verifying your prep work or require expert help, book a pre-installation appliance check with our team today.